how to build your first tamagotchi
bring your own pixel art to life with an Arduino and a tiny screen.
 cova
What you need
- The brain. An Arduino UNO R4 Minima.
- The face. A Waveshare 2-inch LCD module.
- The connections. Eight female-to-male jumper wires.
1. Connect the screen
Simply plug in the wires!
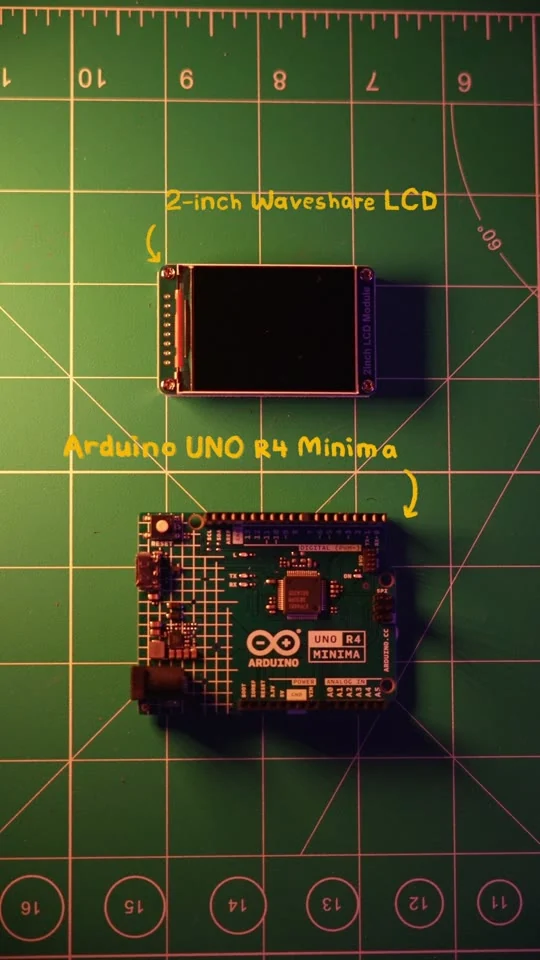
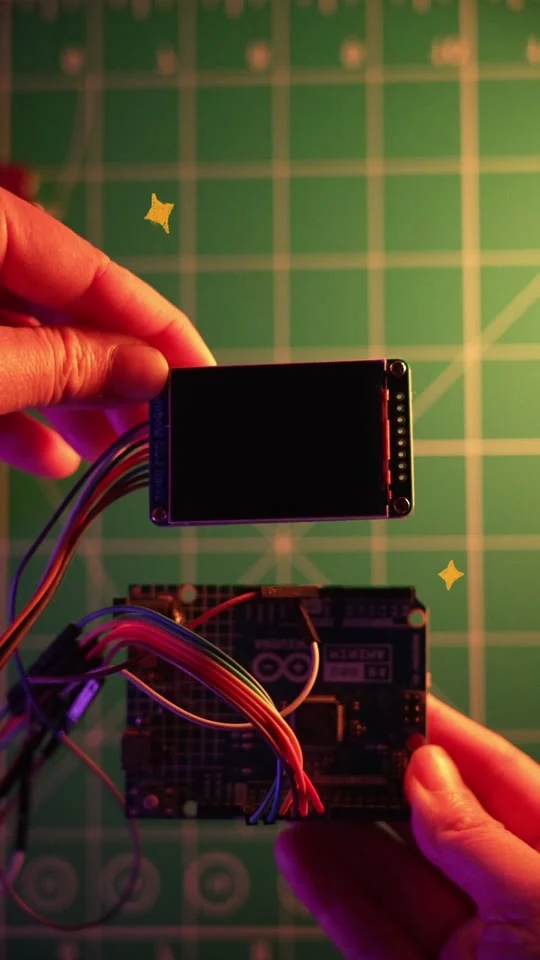
See all eight wire connections
| On the LCD | On the Arduino UNO R4 Minima | What it does |
|---|---|---|
| VCC | 5V | Power for this Waveshare module |
| GND | GND | Shared ground |
| DIN | D11 | Sends pixel data to the screen |
| CLK | D13 | Keeps the data in time |
| CS | D10 | Selects the display |
| DC | D7 | Switches between commands and pixel data |
| RST | D8 | Resets the display |
| BL | D9 | Turns on the backlight |
2. Draw your little friend
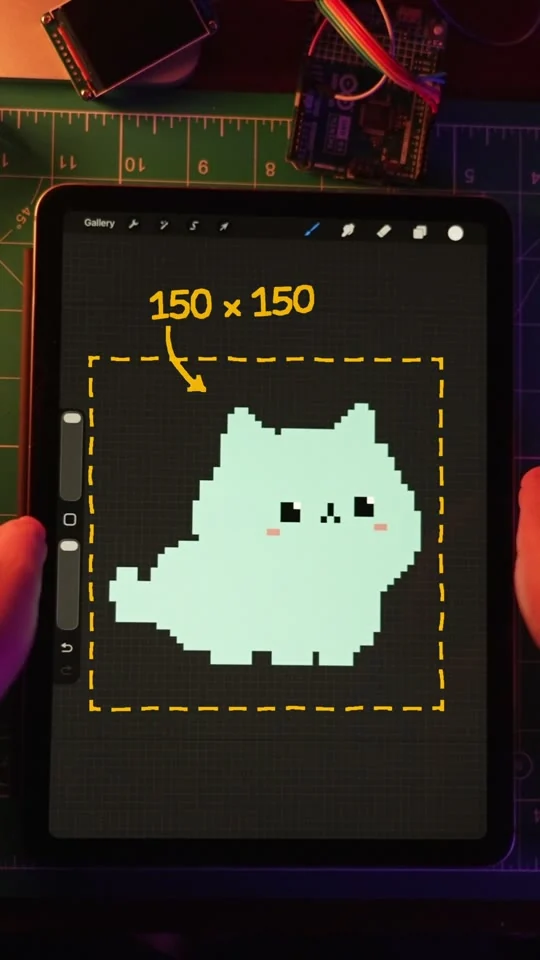
Make a 150 × 150 pixel canvas.
Export your friend as a PNG or gif.
3. Put your art on the screen
Plug the wired Arduino into your computer with the USB-C data cable.
In the video I use ChatGPT to prepare the sketch. To follow that route, attach your art!
Upload my art. I'm using an Arduino Uno R4 Minima and a 2-inch Waveshare LCD.
You can also follow the steps manually:
- Download Arduino IDE.
- Open Arduino IDE. In Boards Manager, install Arduino UNO R4 Boards. Select Arduino UNO R4 Minima and the USB port where it appeared.
- In Library Manager, install Adafruit ST7735 and ST7789 Library and its dependencies.
- Open the sketch. If your image data came in a separate
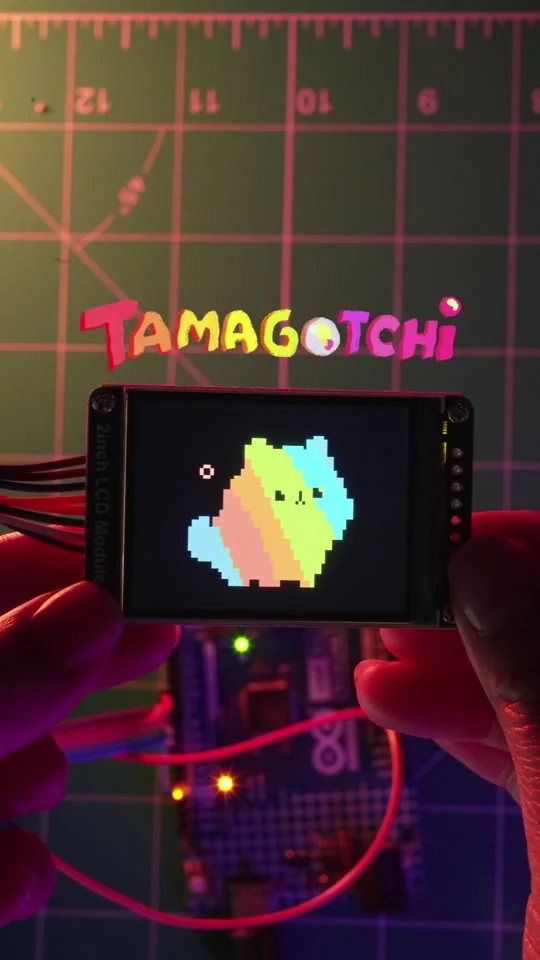
.hfile, put it in the same folder as the.ino. The sketch sends the PNG’s colors to the display as a 16-bit RGB565 bitmap. - Click Verify, then Upload. When the board restarts, look down at the screen. There’s your drawing!
For a still PNG, use this starter sketch. Ask ChatGPT to convert your 150 × 150 PNG into an RGB565 C array named my_pet, saved as my_pet.h. Put that header in the same folder as your .ino sketch.
#include <SPI.h>
#include <Adafruit_GFX.h>
#include <Adafruit_ST7789.h>
#include "my_pet.h"  // 150 × 150 RGB565 pixels, named my_pet

// These match the eight-wire table above.
constexpr uint8_t LCD_CS = 10;
constexpr uint8_t LCD_DC = 7;
constexpr uint8_t LCD_RST = 8;
constexpr uint8_t LCD_BL = 9;
constexpr int ART_WIDTH = 150;
constexpr int ART_HEIGHT = 150;

// Hardware SPI uses D11 for DIN and D13 for CLK.
Adafruit_ST7789 screen(LCD_CS, LCD_DC, LCD_RST);

void setup() {
  pinMode(LCD_BL, OUTPUT);
  digitalWrite(LCD_BL, LOW);

  screen.init(240, 320, SPI_MODE0);
  screen.setSPISpeed(4000000);
  screen.setRotation(1);
  screen.invertDisplay(true);
  screen.fillScreen(ST77XX_BLACK);

  const int x = (screen.width() - ART_WIDTH) / 2;
  const int y = (screen.height() - ART_HEIGHT) / 2;
  screen.drawRGBBitmap(x, y, my_pet, ART_WIDTH, ART_HEIGHT);

  digitalWrite(LCD_BL, HIGH);
}

void loop() {
  // The drawing stays on screen.
}
Give it a home
I show three ideas at the end of the video.
- Resin print
- 3D print
- Beam splitter tube
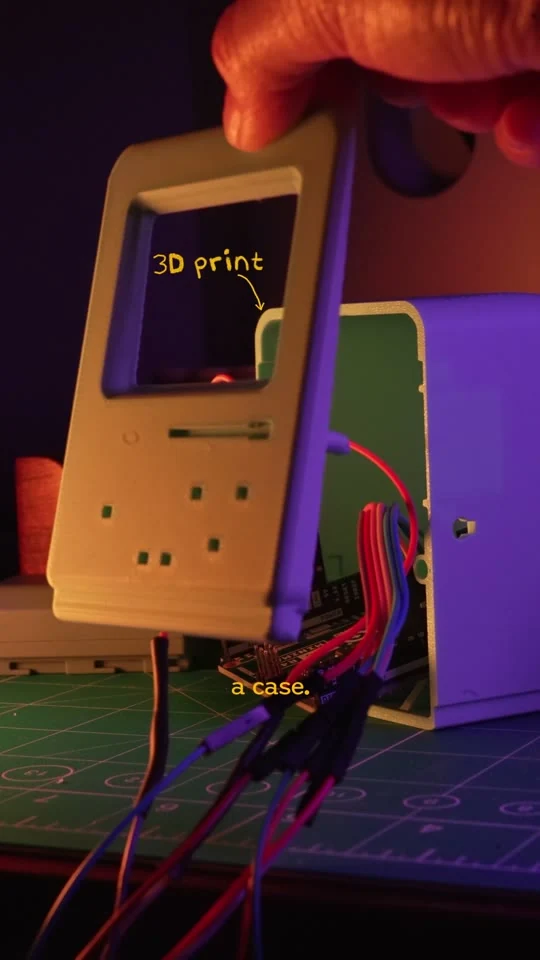
00:46.5 · Lifting the front of the little computer to show what fits inside.
Troubleshooting
My screen is blank. What do I check? Try a USB cable you’ve used to transfer data, reconnect the board.
The sketch uploaded, but the screen is dark? Unplug USB and check VCC, GND and BL first. In the sketch, D9 should be an output set HIGH. If the backlight comes on but the art doesn’t, check DIN, CLK, CS, DC and RST against the pin table. Pin labels and setup notes for these exact parts are in the Waveshare display guide and Arduino’s UNO R4 Minima setup guide.
Happy creating!! If you want to make the one that gets chonkier when you feed it files, meet Bit, my Tamagotchi flash drive.